
Last updated October 31, 2026
 Wrought iron
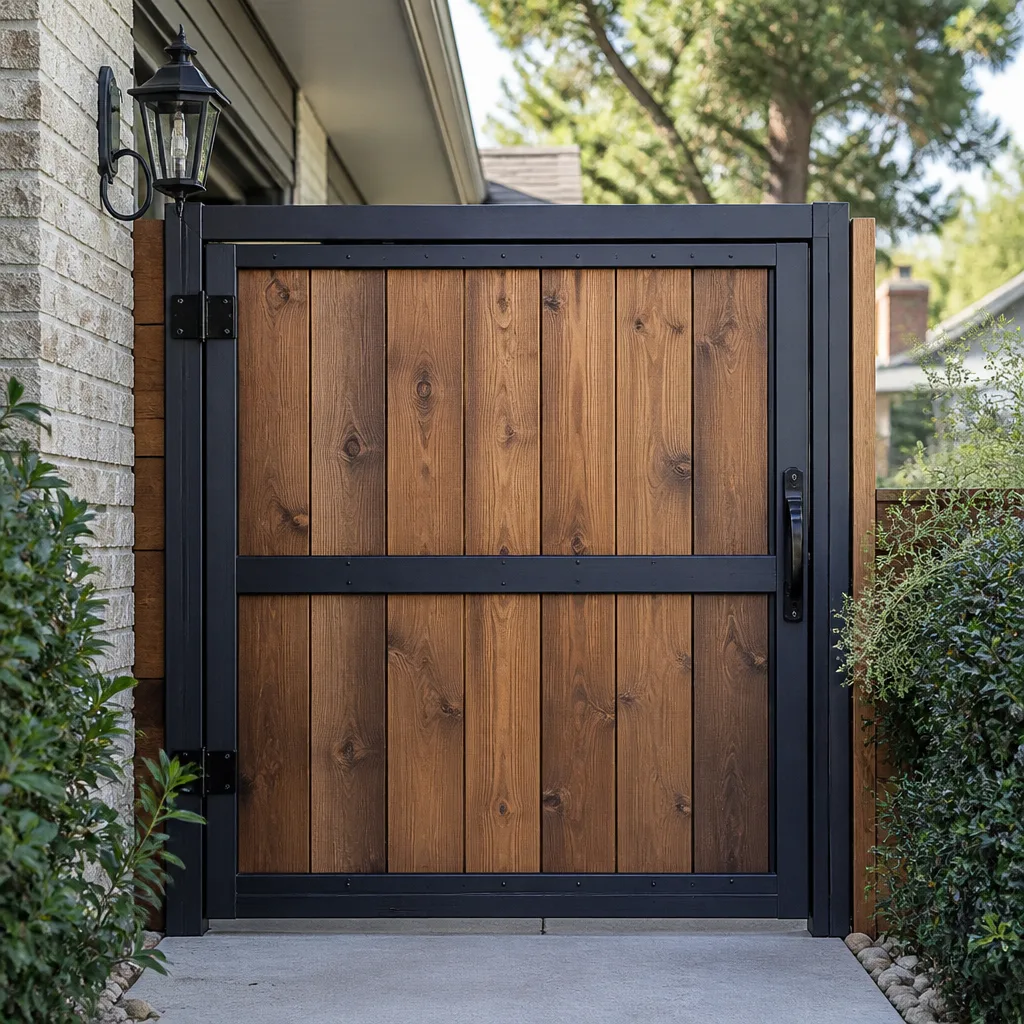 Wood & steel frame
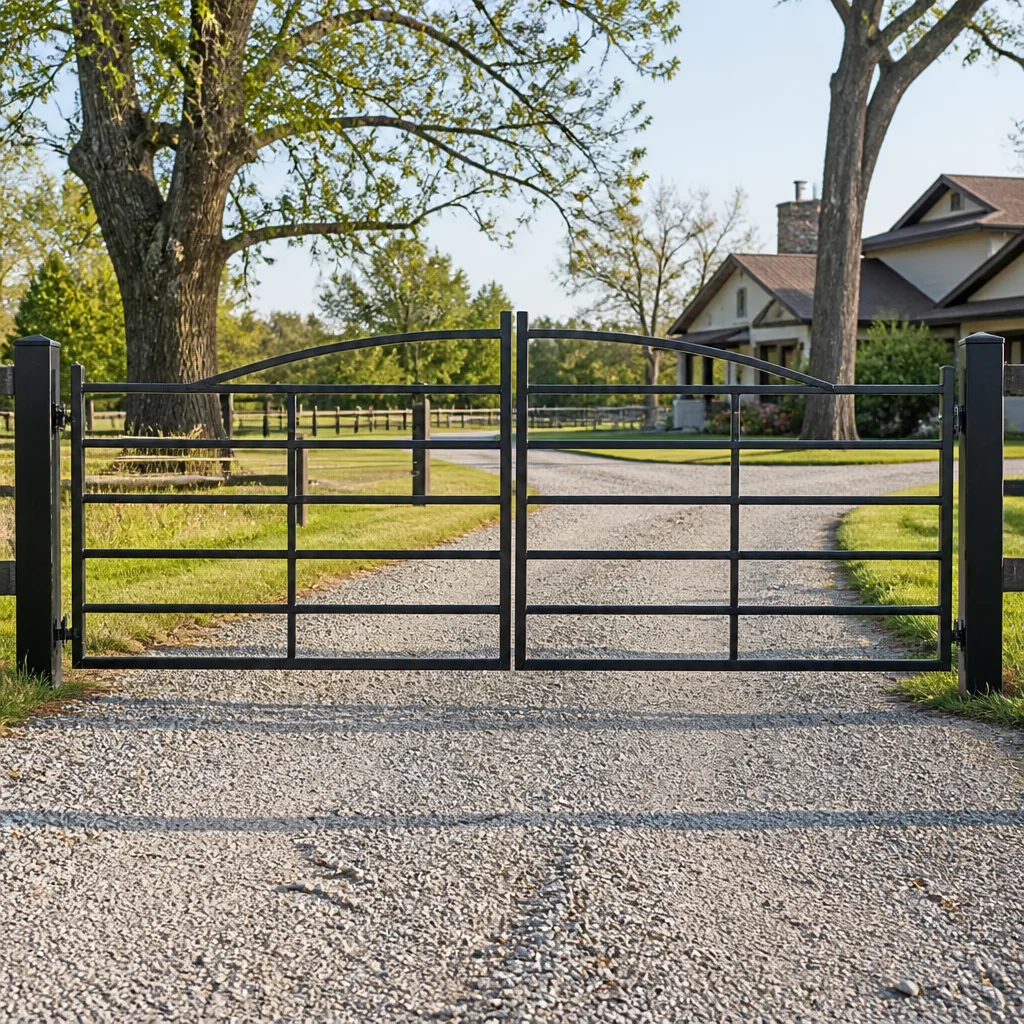 Farm & ranch
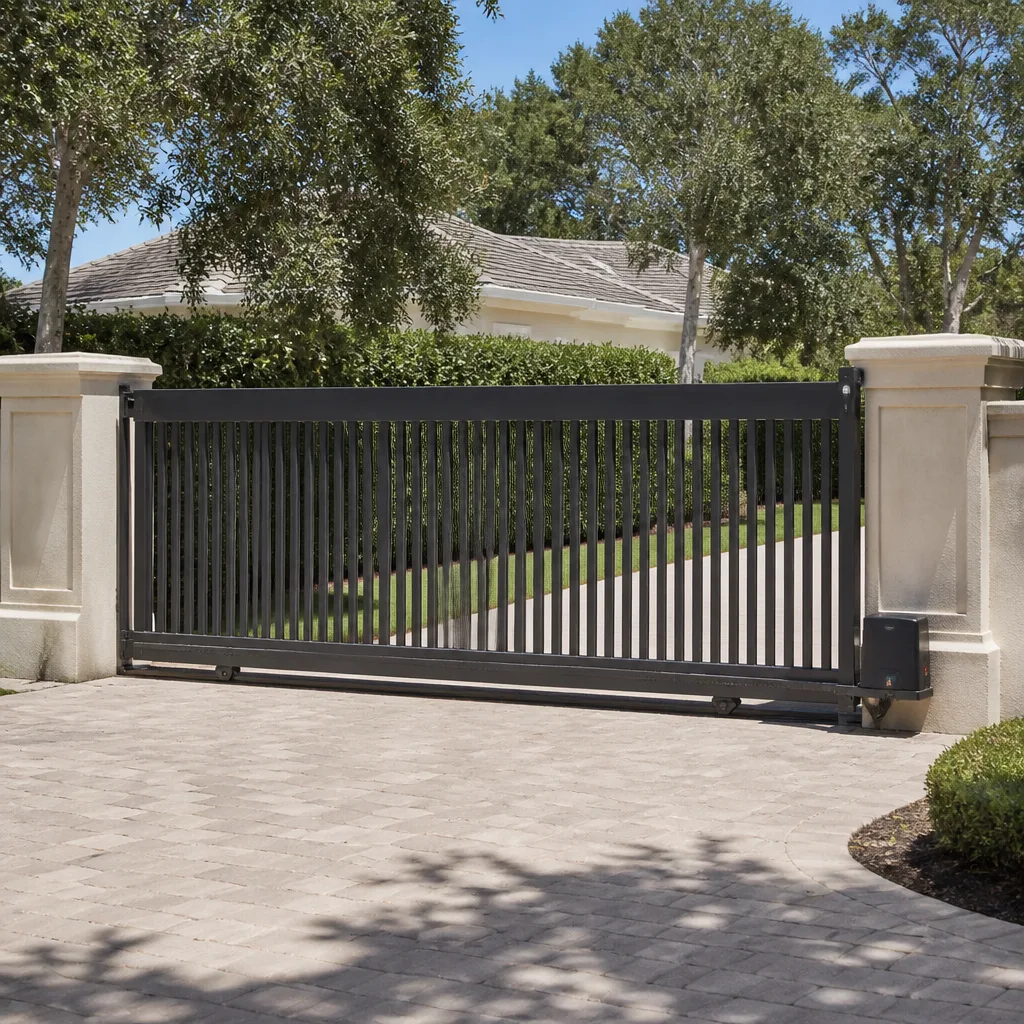 Sliding driveway gates
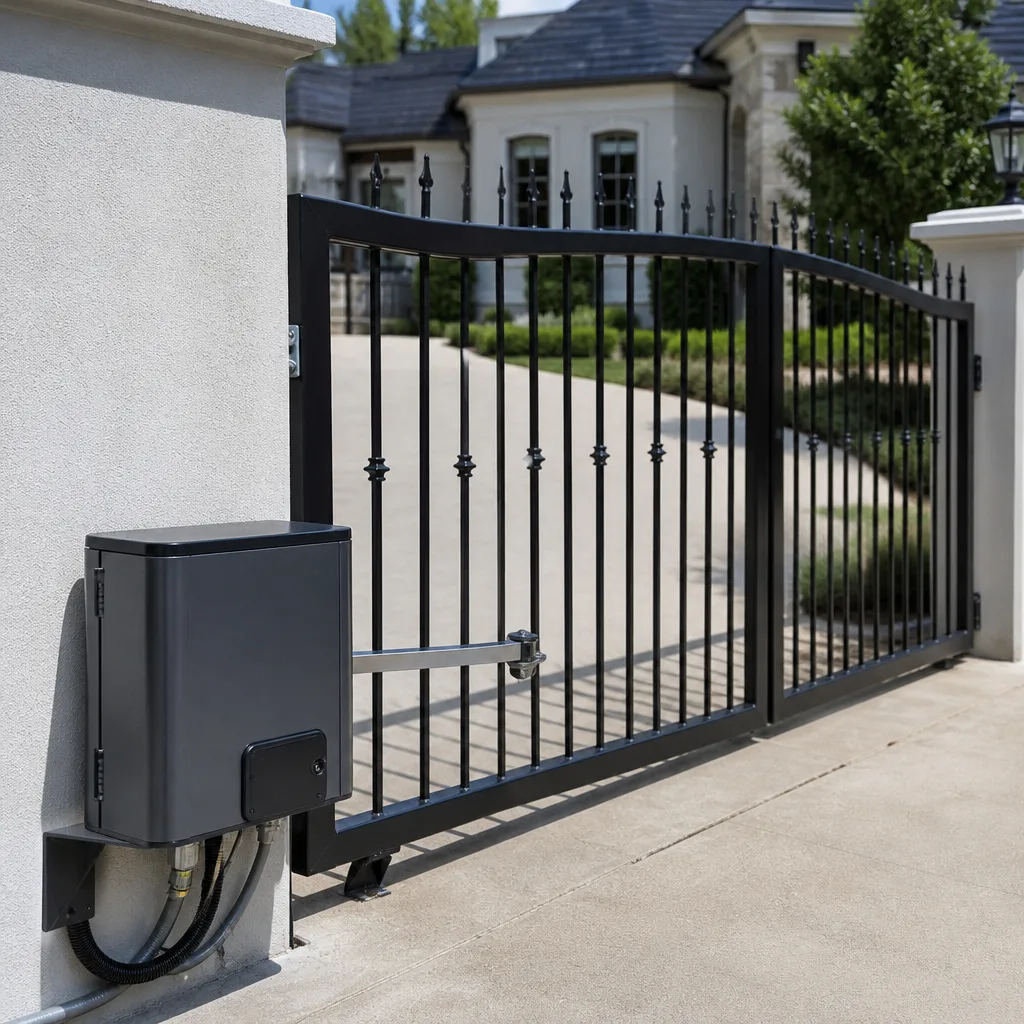 LiftMaster operators
Free on-site gate assessment - hinges, posts, and your LiftMaster or Nice gate operator checked before anything is quoted
The assessment is free and the quote is the invoice.
Get your free estimateGate Repair Maintenance Checklist for Fontana Homeowners
Most gate maintenance advice starts with the wrong step. The typical guide will tell you to lubricate hinges, spray the chain, and maybe tighten a few bolts. But if your gate has shifted on its posts, or a wheel is grinding against a warped track, fresh grease doesn’t fix the problem. It hides it. You end up with a quietly deteriorating gate that fails catastrophically during a Fontana heat wave, right when you least want to be standing outside fighting with it. This guide is different. It’s built around the actual failure patterns we see across Fontana, from the dust that gets into control boards in the northern neighborhoods to the UV-baked rubber seals we replace in the south. You’ll learn the inspection order that matters, the two manual tests you can do safely, and the documentation habits that protect you when a warranty claim gets disputed.
Quick Answer
A Fontana homeowner’s gate maintenance checklist should follow a sequence: check structural alignment and mounting first, then wheels and track, then wiring and sensors, and only then lubricate moving parts. The two most important monthly checks are a manual balance test and a travel limit test, both of which take under five minutes and require no tools. Skip the lubrication until structural checks pass, because grease on a misaligned gate makes future damage quieter and more expensive.
Styles & brands we work with
Table of Contents
- Why Inspection Order Matters More Than the Checklist Itself
- Fontana-Specific Stress Points Most Guides Miss
- Step 1: Structural Alignment and Mounting Checks
- Step 2: Wheels, Track, and Roller Inspection
- Step 3: Electrical and Sensor Inspection
- The Two Manual Tests Every Homeowner Should Know
- Battery Backup Verification: A Non-Optional Step
- Documentation Habits That Protect Your Warranty
Why Inspection Order Matters More Than the Checklist Itself
A checklist without a sequence is just a list of chores. The order of operations on a gate matters because each layer of the system depends on the layer beneath it. If a gate is sagging because a post has shifted in the soil, adjusting the sensor alignment to compensate is like recalibrating a crooked picture by leaning your head. You’re solving the wrong problem at the wrong layer.
We see this constantly in Fontana homes built on the alluvial soils south of Baseline. The ground here expands and contracts with irrigation cycles and summer heat, and gates that were perfectly plumb five years ago are now off by a half inch. A homeowner notices the gate is straining to close, so they adjust the opener’s force setting. That works for a month. Then the wheel starts binding. Then the motor burns out. The root cause was never electrical. It was structural. The electrical system was simply the first casualty.
The sequence we recommend is deliberate:
- Structural first: posts, mounting brackets, hinges, and gate frame. If these aren’t sound, nothing above them is reliable.
- Mechanical second: wheels, track, rollers, chains, and physical stops. These components carry the weight and absorb the wear.
- Electrical third: sensors, wiring, control boards, keypads, and operator limits. These are adjustment points, not fixes for mechanical problems.
- Lubrication last: only after alignment and mechanical integrity are confirmed. Grease is a preservative, not a repair.
This sequence exists because a motor doesn’t fail in isolation. It fails because the gate got harder to move, and the motor worked harder, and the control board overheated, and the capacitor gave out. By the time the gate won’t open, the mechanical system has usually been degrading for months. Starting at the motor without checking the mechanical system is troubleshooting in reverse.
This is where a Manor Gate Repair home diagnostic differs from a handyman approach. A generalist sees a dead gate and starts replacing parts. Our team works from the structural layer up, because we’re trained on the full lifecycle of the system. You can’t diagnose a gate repair in Fontana properly if you skip the foundation of the system.
Fontana-Specific Stress Points Most Guides Miss
Generic gate maintenance guides assume a generic climate. Fontana is not generic. We’re in USDA Hardiness Zone 9b with summer temperatures that routinely exceed 100°F, dry winds that carry fine dust from the Cajon Pass, and UV exposure that beats on south-facing gates for ten hours a day in July. These conditions create specific, predictable failure patterns that a homeowner in Seattle or Chicago would never see.
Here are the stress points specific to Fontana:
- Dust infiltration into control boards. The fine, silty dust that blows through Fontana during Santa Ana events gets everywhere. It gets into the control board enclosure through gasket gaps, coats the circuit board, and traps heat. Over time, that heat degrades capacitors and solder joints. We regularly open electric gate panels in Fontana and find a quarter inch of dust on components that were designed to run clean.
- UV degradation on rubber seals and weatherstripping. Fontana averages over 280 sunny days per year. The rubber seals around your gate’s control box, keypad, and sensor lenses are baked by the sun until they crack and shrink. Once the seal fails, dust and moisture get in. We recommend homeowners inspect seal integrity every spring, before the worst heat arrives.
- Concrete heave from summer heat cycles. Concrete expands in heat. A gate track set into a concrete driveway will shift slightly every summer as the slab expands, and every winter as it contracts. Over five or ten years, those micro-movements accumulate. A track that was flush in 2018 is now a quarter inch proud at the joint, and the wheel catches on every pass.
- Gate frame warping on south-facing installations. A dark-colored steel gate absorbs solar heat. Surface temperatures on a black iron gate in Fontana can exceed 160°F in August. That thermal cycling slowly warps the frame, especially on gates with decorative scrollwork or thin-gauge steel. You’ll see the latch bind first, then the gate drags on the ground at the leading edge.
- Battery failure during heat waves. Backup batteries degrade faster in high heat. A battery that tested fine in March may fail during the first 105°F week in June. We cover battery verification in detail below, but know this: heat waves are when Fontana most needs backup power, and heat waves are when backup batteries are most likely to die quietly.
If you’ve owned a gate in Fontana for more than three years, you have probably encountered at least one of these patterns. The purpose of a maintenance checklist isn’t to prevent every issue. It’s to catch these predictable failures before they become emergency calls. A gate installation in Fontana that accounts for these climate factors from day one will outlast one that doesn’t.
Step 1: Structural Alignment and Mounting Checks
Before you touch anything electrical, look at how the gate sits on its hinges or wheels. A healthy gate hangs square, opens and closes with consistent resistance, and doesn’t drag on the ground. An unhealthy gate lists to one side, scrapes at a specific point in the travel arc, and puts extra load on the opener motor every single cycle.
Here’s what to inspect, in order:
- Post stability. Push against the top of each gate post with firm pressure. There should be no movement. If a post wiggles, the mounting is compromised. A wiggling post magnifies every other problem in the system and will eventually snap the opener arm or crack a weld.
- Hinge hardware. Inspect each hinge on a swing gate for rust, looseness, and worn pins. On a sliding gate, check the mounting brackets where the gate frame attaches to the rollers. Look for cracks in the welds and for bolts that have backed out from vibration.
- Gate frame integrity. Run your eyes along the full perimeter of the gate. Look for cracks in horizontal rails, especially near corner joints. Look for any place where the gate’s powder coating has been scratched through, because exposed steel rusts fast in Fontana’s dry, hot air, and rust never stops once it starts.
- Ground clearance consistency. Roll the gate through its full range of motion manually (see the manual test section below) and watch the clearance between the gate bottom and the ground. A swing gate should maintain the same clearance throughout the arc. A sliding gate should ride level on the track. If the clearance changes, you have either a post shift or a frame warp.
- Latch and receiver alignment. On a swing gate, the latch should meet the receiver cleanly without forcing. If you have to push the gate to close the last inch, the receiver has moved or the gate has sagged. This is the first sign of a structural problem, and it’s often the first thing homeowners ignore.
One Fontana-specific note: if your gate posts are set in soil rather than concrete, the freeze-thaw cycle isn’t your enemy here. Irrigation is. A post set next to a sprinkler head will see the surrounding soil expand and contract with every watering cycle. Over years, that repeated moisture cycling loosens the footing. If you’re planting anything near your gate posts, keep the irrigation at least three feet away.
Structural problems don’t fix themselves. A gate that’s sagging today will be dragging tomorrow, and a gate that’s dragging will destroy its motor within a season. If you find a structural issue you can’t confidently address, call for professional gate repair in Fontana before the damage compounds.
Step 2: Wheels, Track, and Roller Inspection
Sliding gates live and die by their track and wheel system. This is the layer that most homeowners never look at, because it’s under the gate and often obscured by landscaping or debris. But Fontana’s dust and heat make this the highest-wear part of any sliding gate installation.
On a sliding gate, inspect:
- Track cleanliness. The track is a debris trap. Leaves from those mature eucalyptus trees that line so many Fontana yards fall into the track and get crushed into a oily paste by the wheels. Add dust and you get a grinding compound that wears both wheels and track. Clean the track monthly during fall and after any significant wind event.
- Wheel condition. The wheels on a sliding gate are usually nylon, polyurethane, or steel. Each has a lifespan. Check for flat spots, cracks, and excessive play. A wheel with a flat spot will cause the gate to thump with every revolution, and that vibration travels straight into the opener.
- Track level and alignment. Place a carpenter’s level on the track in several spots along its length. A track that’s out of level by even a quarter inch over ten feet creates wear concentration. Also check the track joints; these are common failure points because expansion and contraction separates them over time.
- Guide rollers. These are the rollers at the top of the sliding gate that keep it vertical. Check that each one contacts the gate rail and that none are seized. A seized guide roller turns into a flat spot on the roller’s surface, then a wobble, then a gate that shakes every time it moves.
On a swing gate, the equivalent components are the hinge pins and bushings. Swing gate hinges carry enormous loads, especially on ornamental iron gates with heavy decorative elements. Check for:
- Hinge play. Lift the gate slightly at the leading edge. Any vertical movement means the hinge pins or bushings are worn. A quarter inch of play at the latch translates to significant stress multiplication at the hinges.
- Greasable fittings. Some residential swing gates have grease fittings on the hinges. If yours do, a small amount of high-temperature grease every six months is appropriate. Fontana’s heat thins conventional grease, so use a grease rated for high-temperature outdoor use. This is the one place we recommend greasing proactively.
If you hear any grinding, scraping, or rhythmic thumping as your gate operates, the mechanical layer is trying to tell you something. These sounds don’t go away on their own.
Step 3: Electrical and Sensor Inspection
Only after the structural and mechanical systems check out should you move to the electrical layer. The electrical system on an automated gate includes the control board, the operator motor, safety sensors (photo eyes and safety edges), the keypad or remote receiver, and all the wiring that connects them.
Here’s the inspection sequence:
- Safety sensor operation. Test the photo eyes by placing a solid object in the sensor path while the gate is closing. The gate should reverse or stop immediately. Test the safety edge (the pressure-sensitive strip on the leading edge) the same way. If either safety device fails, the gate becomes a crush hazard. In Fontana, where many homes have backyard pools and young children, a failing safety sensor is not a small problem. It’s a priority repair.
- Control board inspection. Open the control board enclosure and look for dust accumulation, insect activity, and signs of overheating such as discolored components or a burnt smell. Use a soft brush or compressed air to remove dust carefully. Do not use water. Do not disturb the wiring while cleaning. If you see corrosion on any terminals, call a professional.
- Wiring condition. Look along the accessible wiring runs for cracked insulation, exposed copper, and signs of rodent chewing. Fontana’s dry climate brings rodents looking for water near landscape areas, and they love chewing on low-voltage wire insulation. Damaged wiring causes intermittent failures that are notoriously difficult to diagnose.
- Limit switch verification. The limit switches tell the operator when to stop moving the gate. If the limits are set wrong, the gate either slams into the end stop or stops short of full travel. Either condition is bad, but slamming into the stop is the dangerous one. It shocks the entire system with every cycle and will crack a weld eventually.
- Keypad and remote function. Test every access method you use: keypads, remotes, and any smart home integration. A keypad that works intermittently is usually a weather sealing issue. A remote that fails consistently is usually a receiver or battery issue. Note any patterns and document them.
A safety note: control boards and capacitor systems in gate operators can retain dangerous voltage even after power is disconnected. If you are not comfortable working around electrical components, do not open the panel. A visual inspection through the enclosure window, if present, is safer. For anything beyond visual inspection, call a qualified electric gate technician. Electric gate repair in Fontana involves live voltage, and the diagnostic process is not a beginner’s project.
We work on the brand you already have. That’s not a marketing line. It’s a diagnostic advantage. When our technicians open a control board, they know what Viking, Ghost Controls, DoorKing, and Elite boards should look like when healthy, and they know what failure looks like at the component level. Brand-agnostic diagnostics mean we find the actual fault, not the most convenient replacement.
The Two Manual Tests Every Homeowner Should Know
These two tests require no tools, no training, and about five minutes total. They give you a baseline reading on your gate’s mechanical health, and they will catch problems months before they become breakdowns. Do them monthly.
Test 1: The Manual Balance Test
The purpose of this test is to measure how hard the opener motor has to work to move the gate. A healthy gate with a properly installed opener moves smoothly with consistent resistance. A gate with alignment problems, worn wheels, or a failing bearing will resist movement in ways you can feel.
- Disconnect the operator. Most gate operators have a manual release mechanism, usually a keyed release on the side of the operator housing or a pull-chain in a residential swing arm. Consult your operator’s manual for the exact procedure. This disconnects the motor from the gate so you’re moving the gate by hand.
- Move the gate through its full travel arc. Push or pull the gate slowly from fully open to fully closed, and back. Pay attention to the resistance you feel.
- Assess what you feel. The gate should move with steady, moderate effort. Note any point where resistance increases, decreases, or changes character. A “catch” partway through the arc suggests a wheel problem or track obstruction. Increasing resistance near the end of travel suggests a hinge or post issue. A gate that moves freely for most of the travel but binds at one specific point has a specific, findable problem.
- Note the sounds. Listen for grinding (wheel or bearing), scraping (track or ground contact), and clicking (loose hardware). Each sound points to a different layer of the system.
- Re-engage the operator. Follow your manual’s procedure to restore normal operation. Confirm the gate opens and closes under power normally.
Test 2: The Travel Limit Test
This test verifies that the gate’s limit switches are set correctly and that the gate stops where it’s supposed to, rather than slamming into its mechanical stops.
- Open the gate under normal power. Watch how it stops. It should decelerate gently and stop cleanly at the full open position, without hitting the end stop hard.
- Close the gate under normal power. Same observation. The gate should stop gently at the full closed position. If you hear a thump when it stops, the limits are set too far and the gate is hitting the physical stop before the operator thinks it should stop.
- Check the latch engagement. At the closed position, the latch should engage cleanly without the operator forcing it. If the operator is still pushing when the latch is already fully engaged, the close limit is set too far, and the motor is straining against its own latch every cycle.
- Repeat the cycle. Run the gate open and closed three times in a row. Any inconsistency suggests a limit switch problem, a encoder issue, or a mechanical problem that’s changing the gate’s travel behavior.
These tests establish a baseline. If you do them monthly and log the results (see the documentation section below), you’ll notice when resistance increases or when the gate starts stopping differently. That early notice is the difference between a minor adjustment and a major repair.
Battery Backup Verification: A Non-Optional Step
Fontana’s power grid is stressed every summer. When temperatures cross 100°F, air conditioning load pushes the grid to its limits, and sections of the city do experience outages. Your gate’s battery backup system is what lets you get in and out of your property when the power is down. If that battery is dead, you’re either climbing over your gate or waiting on the utility.
Here’s the problem: backup batteries degrade silently. A battery can test fine in February and fail in July. The degradation curve is especially steep in Fontana’s summer heat, because high ambient temperatures accelerate the chemical breakdown inside lead-acid and AGM batteries. A battery that’s three years old and mounted in an enclosure that hits 120°F is living on borrowed time.
Here’s how to verify your backup battery:
- Identify your battery type and age. Most residential gate operators use sealed lead-acid (SLA) or AGM batteries. The date code is usually stamped on the battery case. If you can’t find it, check your operator’s manual for the expected battery lifespan. Most gate backup batteries are rated for 2 – 4 years in normal conditions; in Fontana heat, plan for the lower end.
- Perform a simulated power outage test. Turn off the breaker that feeds your gate operator. Do not unplug the battery connection from the control board. With the breaker off, run the gate open and closed once. It should operate at normal speed, or slightly reduced speed. If the gate moves slowly, the battery is weak. If the gate doesn’t move at all, the battery is dead.
- Monitor recovery time. After running on battery, turn the breaker back on and note how quickly the system returns to normal operation. A healthy battery and charger circuit will recover fast. A battery that takes hours to recharge is near end of life.
- Inspect the battery itself. Look for swelling, cracking, or white corrosion around the terminals. A swollen battery is a failed battery and should be replaced immediately. Do not attempt to clean or repair a swollen battery.
- Log the test date and result. Consistent logging will show you the battery’s decline over time. A battery that completes 10 cycles under test in January but only 5 in May is telling you it’s on the way out.
This is not a check we leave optional in Fontana. The combination of high summer temperatures and the grid’s seasonal strain means your gate’s backup battery is not just a convenience feature. It’s the difference between your gate opening during an outage and your gate becoming a very expensive wall. If your battery is over three years old or fails any of the tests above, call us for a replacement quote. It’s one of the least expensive components in the system and one of the most important.
Documentation Habits That Protect Your Warranty
Most homeowners don’t think about their gate until it stops working. Then they call a company, get a quote, and have no way to verify whether the recommended repair is actually necessary. A simple documentation habit changes that dynamic entirely. It puts you in a position of leverage instead of vulnerability.
Here’s what we recommend every Fontana homeowner keep:
A simple gate log. A notebook or a note on your phone is fine. Every month, when you do your balance test and travel limit test, write down three things: the date, the resistance you felt, and anything unusual you noticed. That’s it. Ten lines per year, maybe less. But those ten lines can tell a story.
Here’s a sample entry:
- March 15: Balance test normal. Gate stops cleanly both directions. Resistance consistent. No unusual sounds.
- April 20: Slight increase in resistance at midpoint. Gate still stops cleanly. Noted a faint scraping sound at one wheel.
- May 18: Resistance worse. Scraping more audible. Gate thumps at close limit occasionally.
That sequence tells you clearly that a wheel issue is developing. When a contractor tells you the track needs replacement, you can point to the log and ask how a wheel problem became a track problem. When a warranty claim gets denied because the manufacturer claims “lack of maintenance,” you can produce a maintenance record. Documentation is leverage.
Photographs are even better. When you inspect your gate, take three photos with your phone: one of the track area, one of the hinges or wheels, and one of the control board if you opened it. Phone photos are timestamped automatically. A year of monthly photos is a forensic record of your gate’s condition.
We also recommend keeping every invoice, every service record, and every parts list from any gate work done on your property. When we do gate installation in Fontana work, we provide documentation that includes the operator model, the battery type and date, and the limit switch settings. That record lets the next technician work accurately instead of assuming.
This documentation habit costs maybe fifteen minutes per month. It can save thousands of dollars when a warranty is contested or when a quote needs to be challenged. The right fix, not the easy upsell, is easier to recognize when you have records.
Common Mistakes to Avoid
- Greasing before inspecting. If the gate is misaligned, grease just makes the damage quieter. Always inspect structure and wheels before lubricating anything. In Fontana’s dusty environment, excess grease actually traps dust and turns into an abrasive paste.
- Ignoring slow degradation. A gate that’s slightly slower this month than last month is not “fine.” It’s failing on a schedule. Small changes in resistance or speed are early warnings. Document them and investigate.
- Adjusting sensors to compensate for sag. If the gate has sagged and the sensors no longer line up, the fix is not to re-aim the sensors at an angle. The fix is to address the sag. Re-aiming the sensors masks a structural problem and compromises the safety system’s field of view.
- Using WD-40 on hinges and chains. WD-40 is a penetrant and water displacer, not a lubricant. It flashes off in days and leaves the metal dry. Use a proper grease for hinges and a light oil designed for chains, or better yet, use whatever the manufacturer specifies.
- Neglecting safety edge testing. The safety edge is the last line of defense against entrapment. In Fontana, where pool gates and driveway gates are everywhere, a failed safety edge is a serious liability. Test it monthly, and repair it immediately if it fails.
- Ignoring the battery because the power hasn’t gone out. The battery is like a smoke detector. You don’t know it’s dead until you need it. Summer is not the time to discover your backup battery died two winters ago.
- Replacing the opener without checking the gate. When a gate gets hard to move, the opener works harder and fails sooner. Replacing the opener without finding out why the gate got hard to move is buying another motor to burn out. Find the mechanical root cause first.
See the difference
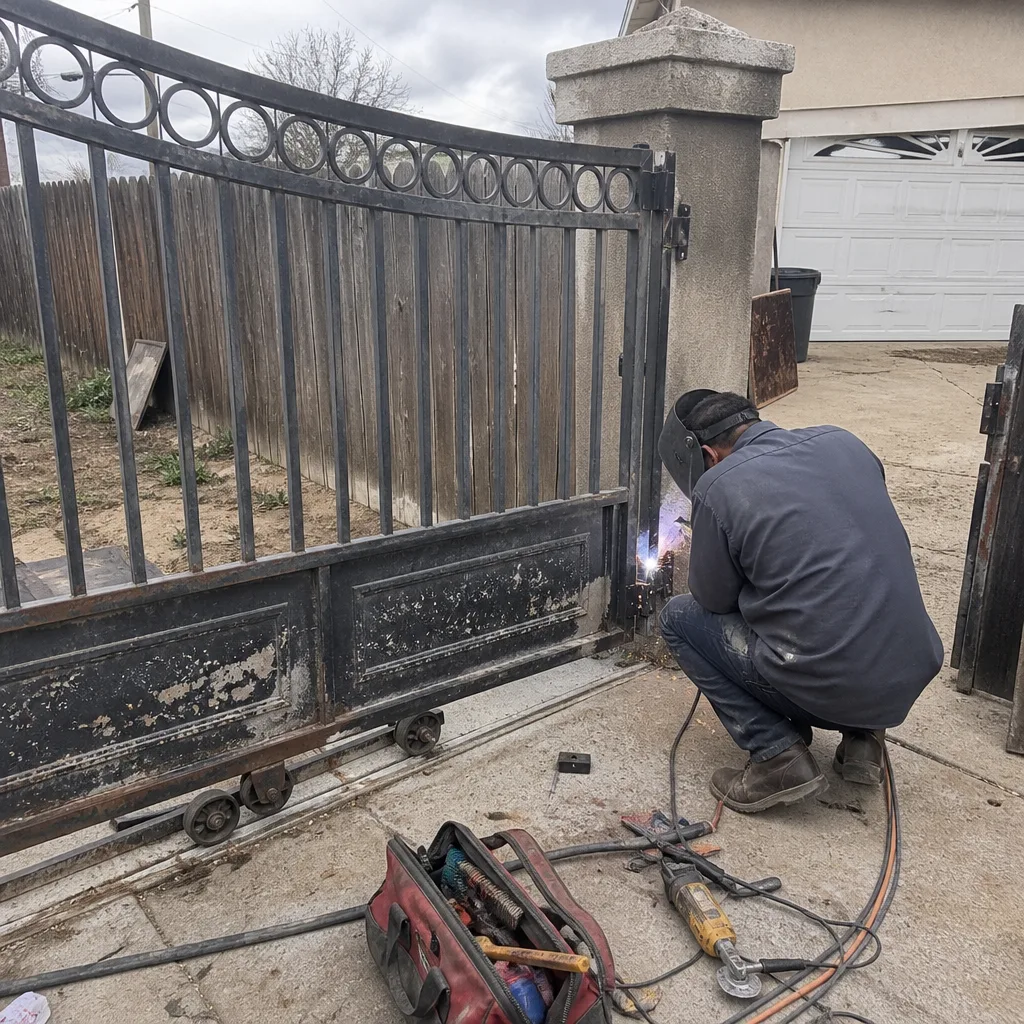 Before
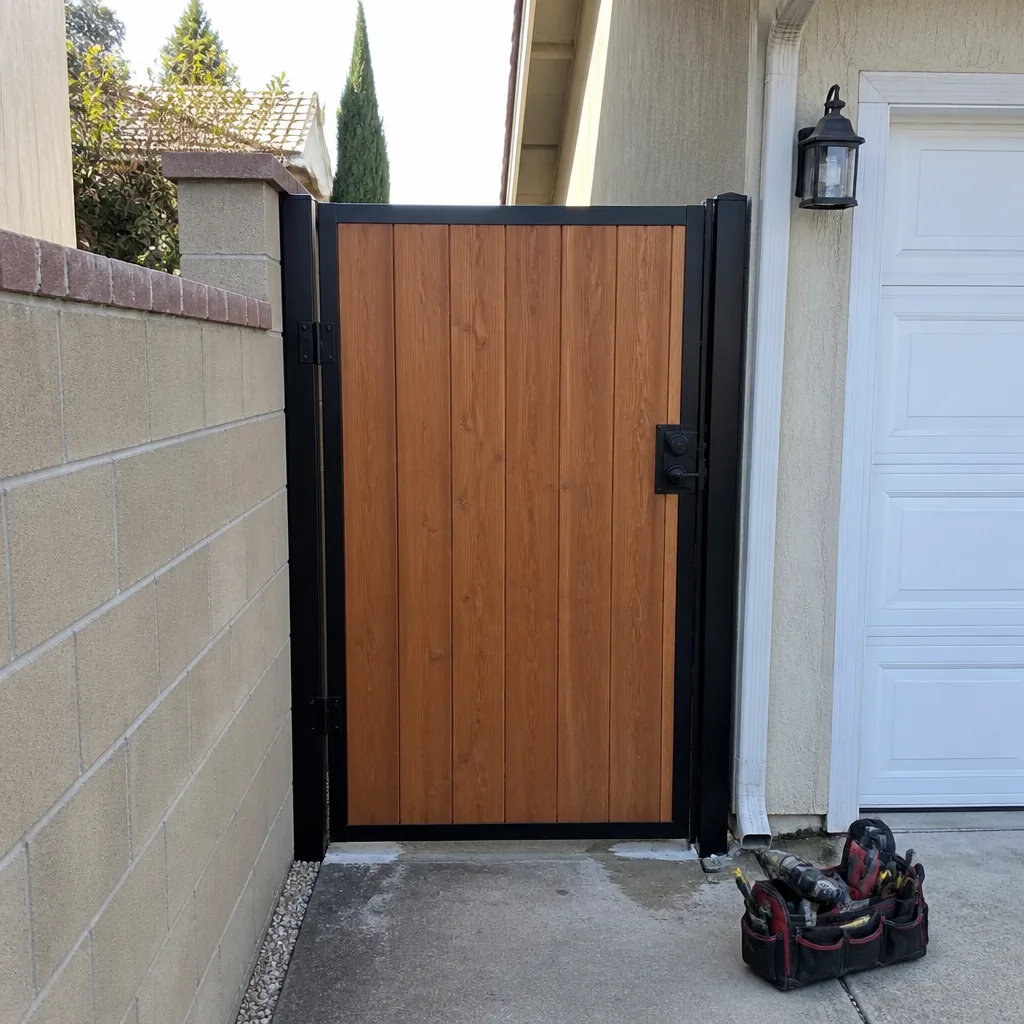 After
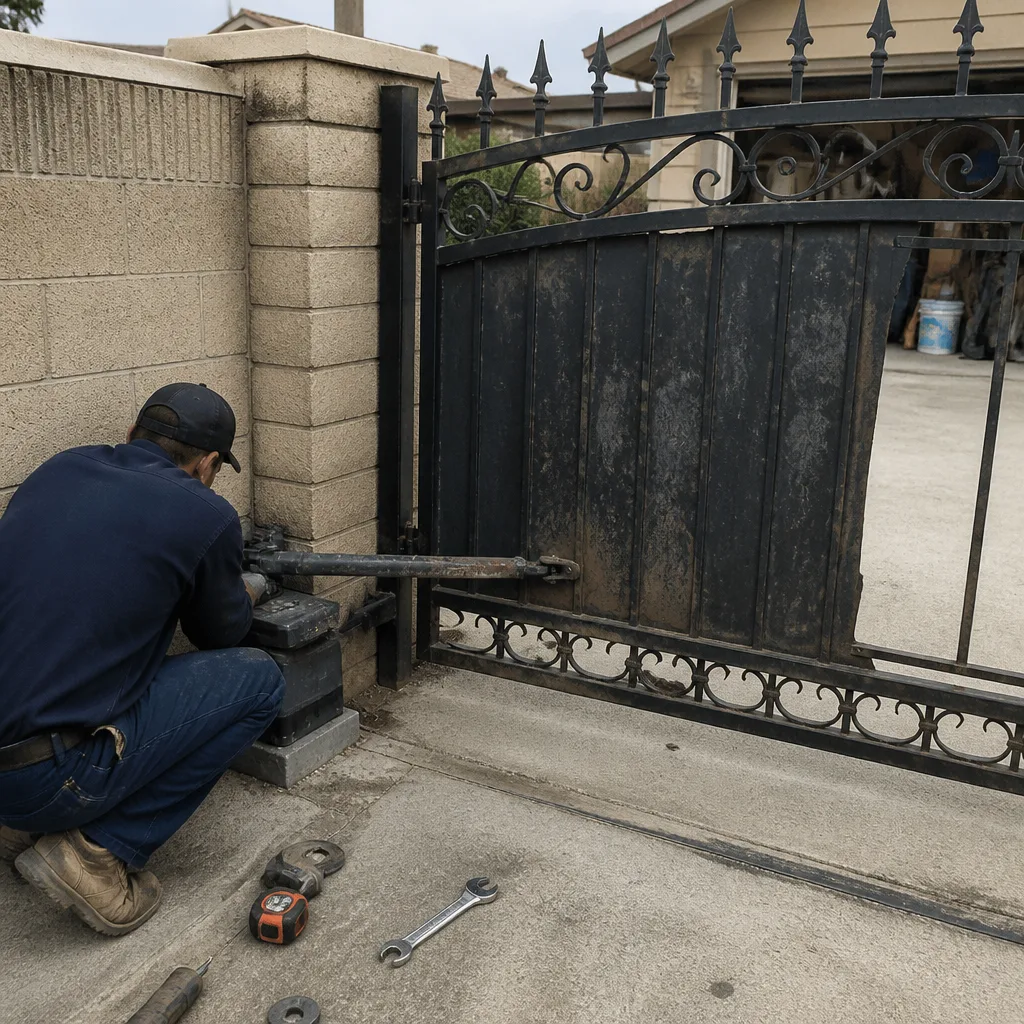 Before
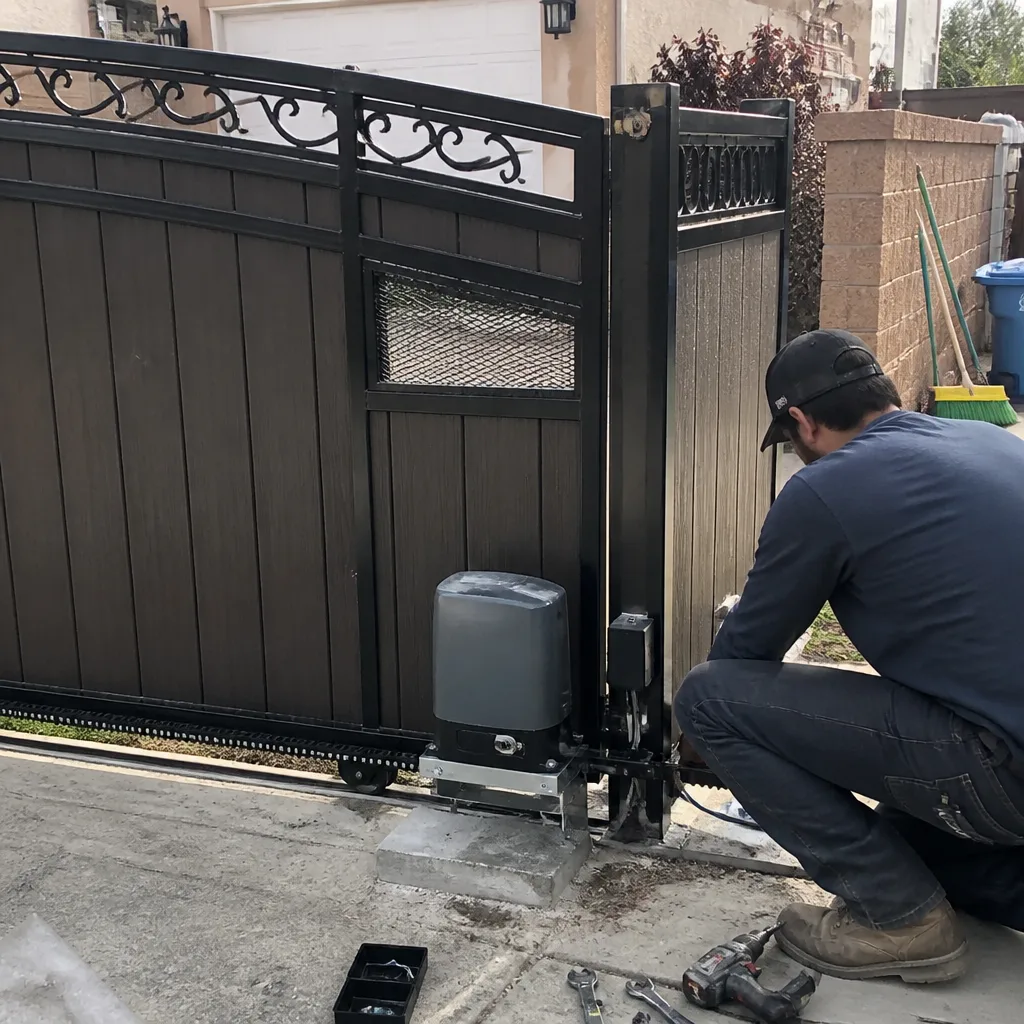 After
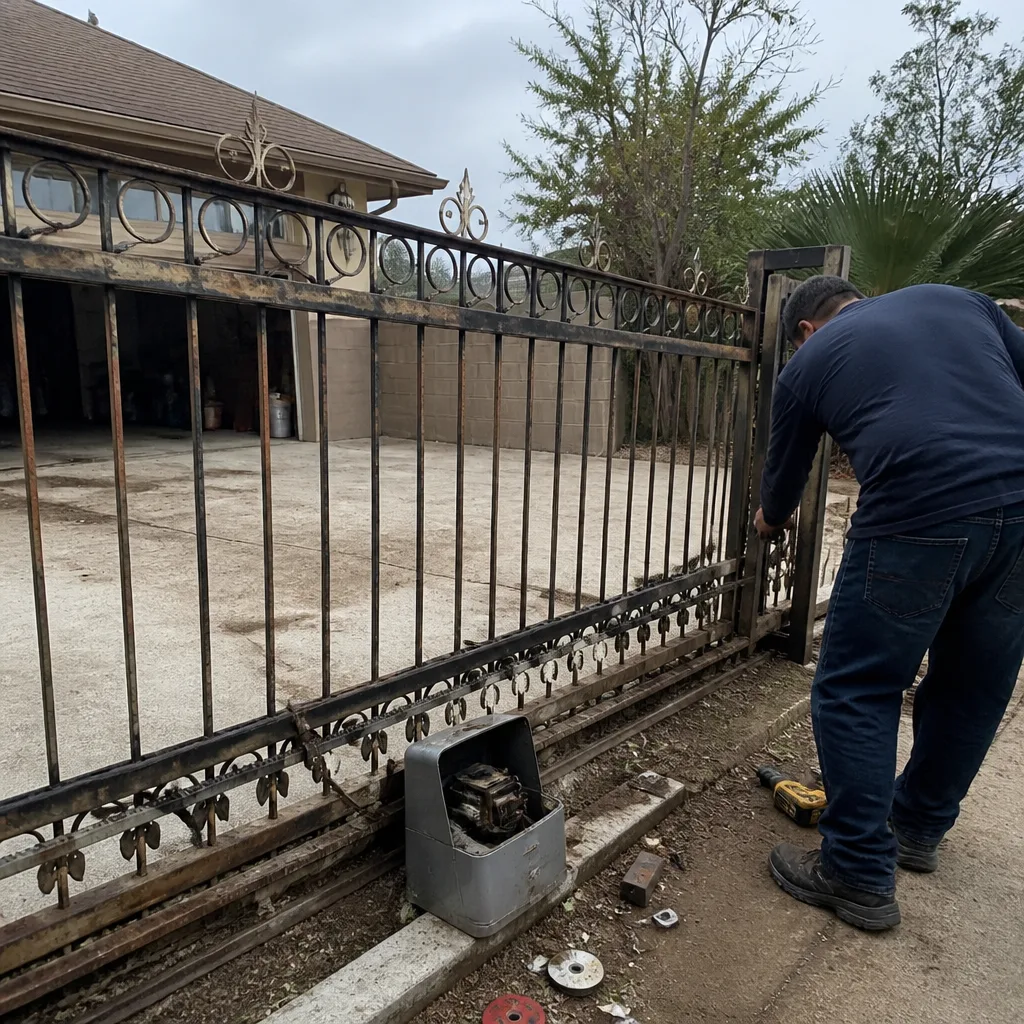 Before
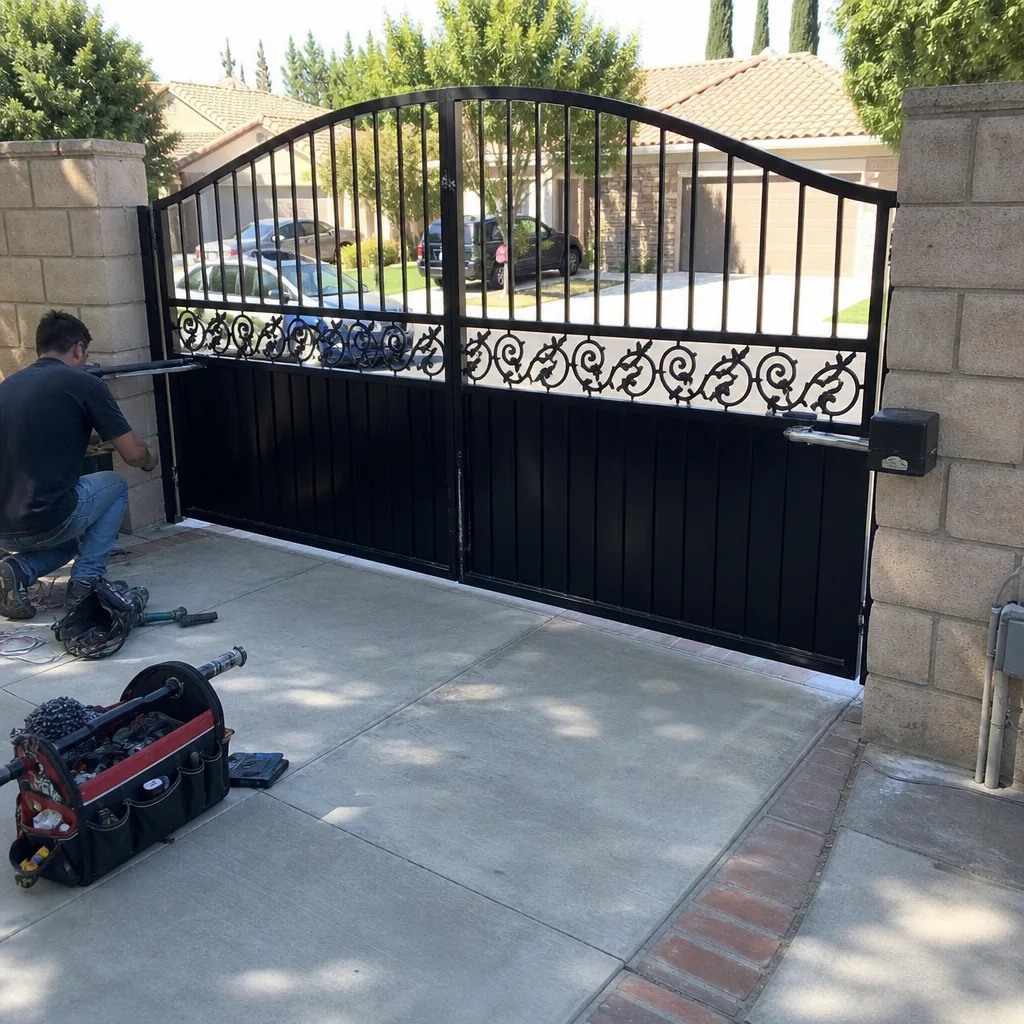 After
When to Call a Professional
Some items on this checklist are homeowner-appropriate. Safety sensor testing, track cleaning, and the two manual tests are all things a careful homeowner can do safely. Other items are not. If you find a structural problem: a cracked gate frame, a shifting post, a failed weld. Call a professional. If you find an electrical problem: a burning smell, visible corrosion, a tripping breaker, a control board that’s arcing. Call a professional. If your gate’s safety devices fail the monthly test, do not wait. A gate that doesn’t reverse on obstruction is a hazard, not an inconvenience.
Manor Gate Repair offers free estimates in Fontana. If you’ve found something on this checklist that concerns you, or if you’d rather have a professional do the full inspection, call (844) 703-6053. From diagnosis to installation, we handle the full gate lifecycle. Your gate, restored to spec.
Frequently Asked Questions
Monthly. The balance test and travel limit test together take under five minutes and will catch most developing problems before they become breakdowns. In Fontana’s heat and dust, monthly inspection is the minimum that makes sense. Seasonal deep inspections, especially in spring before the heat arrives and in fall after the dust season ends, should cover the full checklist including electrical and battery verification.
Dust infiltration into control boards and track contamination are the two most common issues we see in Fontana. The fine dust that blows through the pass during wind events accumulates in control enclosures and causes overheating and component failure. Track contamination from leaves, debris, and wind-blown dust accelerates wheel and track wear on sliding gates. Both problems respond well to regular maintenance.
You can safely do the inspection portions of this checklist: the balance test, the travel limit test, track cleaning, sensor testing, and visual inspections. The repair portions, especially anything involving structural work or electrical components, should be handled by a qualified technician. Gate operators contain high-voltage components and powerful motors. The inspection is yours; the repairs are ours.
Professional gate maintenance in Fontana typically runs from $150 to $350 depending on the gate type, operator complexity, and the technician’s travel time. That’s for inspection plus minor adjustments. Repairs found during inspection are quoted separately and agreed before work starts. Manor Gate Repair offers free estimates, so you can get an exact number before committing. Call (844) 703-6053 for a quote.
In Fontana’s summer heat, backup batteries typically last two to four years, with three years being the realistic midpoint for most systems. High ambient temperatures inside the operator enclosure accelerate chemical degradation, especially in July and August. Test your battery monthly with a simulated power outage, and replace it proactively if it’s over three years old.
We work on the brand you already have. Our team is certified and familiar with nine major gate automation brands including LiftMaster, FAAC, BFT, Linear, Viking, Ghost Controls, DoorKing, Elite, and Mighty Mule. That breadth means no “we don’t service that brand” dead ends. From Ghost Controls residential operators to Viking commercial duty systems, we diagnose the actual fault regardless of manufacturer. Call (844) 703-6053 to schedule service.
The Bottom Line
A gate maintenance checklist is only as good as the sequence it follows and the habits it creates. Start with structure. Then mechanics. Then electrics. Grease last, not first. Do the two manual tests monthly and write down what you find. Test the backup battery every month, especially through the Fontana summer. Document everything, because records are leverage when warranties get contested and quotes get challenged. Most gate failures are not sudden. They are slow, observable, and predictable. The checklist is how you see them coming. If you find something you don’t want to handle alone, call Manor Gate Repair at (844) 703-6053 for a free estimate. We’ll find the actual fault, fix it properly, and restore your gate to spec.
Written by the team at Manor Gate Repair, serving Fontana since 2014.